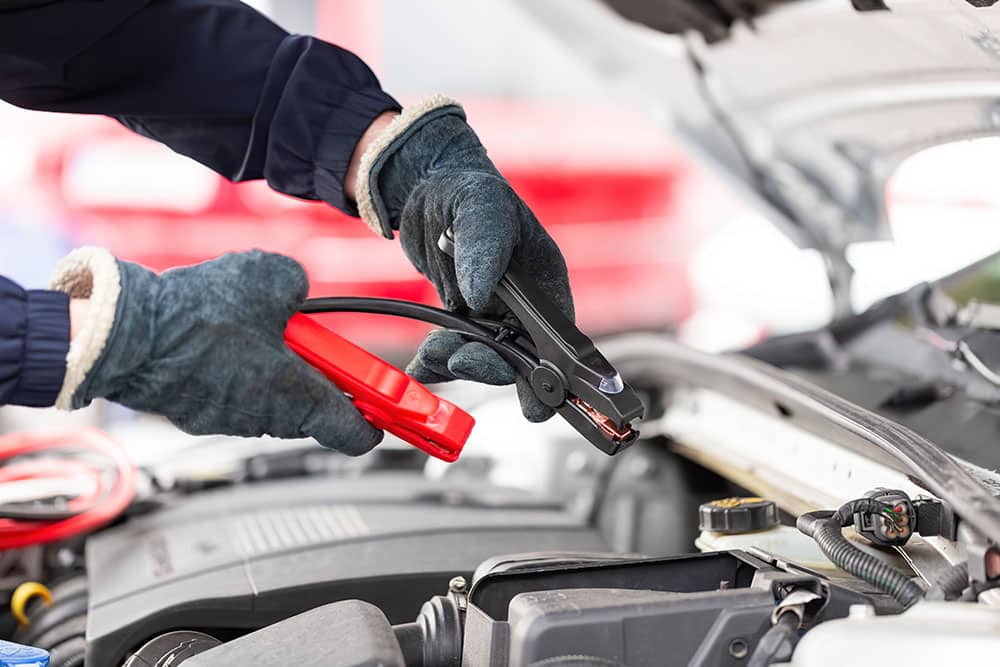
We’ve all been there: you’re running late for work or an important appointment, and when you turn the key, all you hear is the dreaded clicking sound. Your car’s battery is dead, and you’re stuck. But fear not, because knowing how to jump start your car can be a lifesaver in such situations. In this blog, we’ll provide you with a step-by-step guide to safely jump start your vehicle and get back on the road.
Before You Begin: Safety First
Jump-starting a car is a straightforward process, but it’s essential to prioritize safety. Here are a few precautions to keep in mind:
- Safety Gear: Wear safety goggles and gloves to protect your eyes and hands from any potential sparks or battery acid.
- Location: Park both vehicles in a safe, flat area, away from traffic. Make sure the cars are not touching and the ignitions are off.
- Turn Off Electronics: Ensure that all accessories, lights, and radios in both vehicles are turned off.
- Check for Damage: Inspect the battery for any visible damage or leaking. If you notice any, do not attempt to jump start the car.
Now that you’re ready, let’s get started.
Step 1: Gather Your Tools
You’ll need a few tools and items for a successful jump start:
- Jumper cables: Ensure they are in good condition and have sufficient length to reach both car batteries.
- Another vehicle with a working battery.
- Safety goggles and gloves (as mentioned earlier).
Step 2: Position the Vehicles
Position the vehicles so that the batteries are as close to each other as possible without touching. Make sure the cars are in “Park” (for automatic transmissions) or in “Neutral” (for manual transmissions) and both ignitions are turned off.
Step 3: Identify the Battery Terminals
Locate the positive (+) and negative (-) terminals on both car batteries. They are usually marked with red for positive and black for negative.
Step 4: Attach the Jumper Cables
Here’s how to properly attach the jumper cables:
- Connect one red clamp to the positive (+) terminal of the dead battery.
- Connect the other red clamp to the positive (+) terminal of the working battery.
- Connect one black clamp to the negative (-) terminal of the working battery.
- Attach the other black clamp to an unpainted metal surface on the dead car’s engine block. This serves as a grounding point and reduces the risk of sparks near the battery.
Step 5: Start the Working Car
Start the vehicle with the working battery and let it run for a few minutes to charge the dead battery.
Step 6: Attempt to Start the Dead Car
Now, try to start the car with the dead battery. If it starts successfully, great! If not, wait a few more minutes and try again. If it still doesn’t start, you may have a more significant issue with your battery or electrical system that requires professional attention.
Step 7: Remove the Jumper Cables
Once the dead car starts, it’s essential to remove the jumper cables in the reverse order of attachment:
- Remove the black clamp from the engine block of the formerly dead car.
- Remove the black clamp from the working battery’s negative (-) terminal.
- Remove the red clamp from the working battery’s positive (+) terminal.
- Finally, remove the red clamp from the positive (+) terminal of the formerly dead battery.
Step 8: Keep the Engine Running
Let both vehicles run for a few minutes to ensure the formerly dead battery gets a proper charge. This will help prevent the issue from recurring immediately.
Conclusion
Knowing how to jump start your car is a valuable skill that can save you from the frustration of a dead battery. Remember to prioritize safety, follow the steps carefully, and, if necessary, seek professional assistance if your car continues to experience battery-related issues. With the right precautions and a set of jumper cables, you’ll be back on the road in no time, ready to tackle your day’s adventures. You can find jumper cables at your local automotive shop such as AutoZone.

